Greenhouse Solar Monitoring
Disclosure: Some links on this page are affiliate links. If you purchase through these links, I may earn a small commission at no extra cost to you.
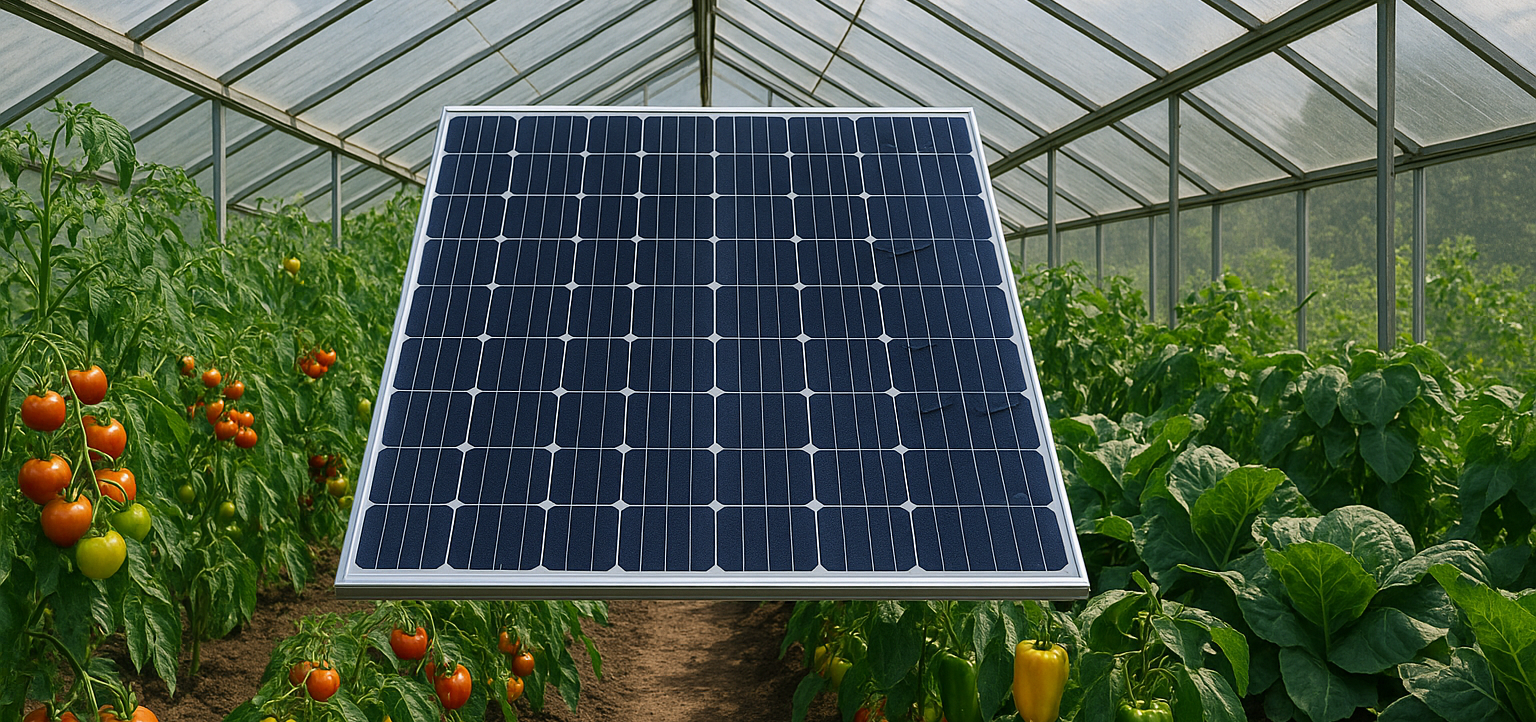
TL;DR: Set up greenhouse solar monitoring with a Raspberry Pi Zero 2 W to track your Renogy solar kit via Bluetooth and automatically send data to Home Assistant via MQTT.
Prerequisites
- Raspberry Pi Zero 2 W
- MicroSD card (16GB+ recommended)
- Computer for initial setup
- Your Renogy 100W Solar KitRenogy BT-1 device powered and nearby
- Home Assistant Green instance with MQTT broker configured
Step 1: Install Raspberry Pi OS
1. Download and Install Raspberry Pi Imager
- Download from rpi.org/software
- Install on your computer
2. Flash the SD Card
- Insert your microSD card
- Open Raspberry Pi Imager
- Click “Choose OS” → “Raspberry Pi OS (64-bit)”
- Click the gear icon (Advanced options)
- Enable SSH: Check “Enable SSH” and set a password
- Configure WiFi: Enter your network credentials
- Set Username: Create a username and password
- Click “Write” to flash the card
3. Boot the Pi
- Insert SD card into Pi Zero 2 W
- Power on and wait 2-3 minutes for first boot
- Find the Pi’s IP address from your router
Step 2: Initial Pi Setup
1. SSH into the Pi
ssh username@YOUR_PI_IP_ADDRESS2. Update the System
sudo apt update && sudo apt upgrade -y3. Install Required System Packages
sudo apt install python3-full python3-venv bluetooth bluez-tools git -y4. Enable Bluetooth
sudo systemctl enable bluetooth
sudo systemctl start bluetoothStep 3: Get Your BT-1 Device Information
1. Scan for your BT-1 device
sudo bluetoothctlIn the bluetoothctl prompt:
power on
agent on
scan onLook for a device with name like “BT-TH-XXXXXXXX”. Note down:
- Device Name (e.g., “BT-TH-XXXXXXXX”)
- MAC Address (e.g., “XX:XX:XX:XX:XX:XX”)
Exit bluetoothctl:
exitStep 4: Install Renogy Bluetooth Monitor
1. Clone the repository
cd ~
git clone https://github.com/cyrils/renogy-bt.git
cd renogy-bt2. Create Python virtual environment
python3 -m venv ~/renogy-env
source ~/renogy-env/bin/activate3. Install Python dependencies
pip3 install -r requirements.txtStep 5: Configure the Solar Monitor
1. Edit the configuration file
nano config.ini2. Update with your settings
adapter = hci0
mac_addr = YOUR_BT1_MAC_ADDRESS
alias = YOUR_BT1_DEVICE_NAME
type = RNG_CTRL[pvoutput]
enabled = false
[mqtt]
server = YOUR_HOME_ASSISTANT_IP port = 1883 user = YOUR_MQTT_USERNAME password = YOUR_MQTT_PASSWORD topic = solar/state
Replace:
YOUR_BT1_MAC_ADDRESSwith your BT-1 MAC addressYOUR_BT1_DEVICE_NAMEwith your BT-1 device nameYOUR_HOME_ASSISTANT_IPwith your Home Assistant IP addressYOUR_MQTT_USERNAMEandYOUR_MQTT_PASSWORDwith your MQTT credentials
3. Test the configuration
python3 example.py config.iniYou should see:
- Connection to your BT-1 device
- Solar data readings
- No errors
Step 6: Set Up Automatic Data Collection
1. Create a cron job for periodic data collection
crontab -e2. Add this line for data collection every 5 minutes
*/5 * * * * cd /home/USERNAME/renogy-bt && /home/USERNAME/renogy-env/bin/python3 example.py config.iniReplace USERNAME with your actual username.
3. Verify the cron job
crontab -lStep 7: Configure Home Assistant for Greenhouse Solar Monitoring
1. Test MQTT data reception
- In Home Assistant, go to Settings → Devices & Services → MQTT → Configure
- Click “Listen to a topic”
- Enter topic:
solar/state - You should see JSON data with solar readings
2. Add sensors to Home Assistant
Edit your Home Assistant configuration.yaml and add this MQTT sensor configuration:
mqtt:
  sensor:
    - name: "Solar Power"
      state_topic: "solar/state"
      device_class: "power"
      unit_of_measurement: "W"
      value_template: "{{ value_json.pv_power }}"
      unique_id: "solar_power"
      device:
        identifiers: ["greenhouse_solar"]
        name: "Greenhouse Solar"
        model: "RNG-CTRL-WND30"
        manufacturer: "Renogy"

    - name: "Solar Voltage"
      state_topic: "solar/state"
      device_class: "voltage"
      unit_of_measurement: "V"
      value_template: "{{ value_json.pv_voltage }}"
      unique_id: "solar_voltage"
      device:
        identifiers: ["greenhouse_solar"]
        name: "Greenhouse Solar"
        model: "RNG-CTRL-WND30"
        manufacturer: "Renogy"

    - name: "Battery SOC"
      state_topic: "solar/state"
      device_class: "battery"
      unit_of_measurement: "%"
      value_template: "{{ value_json.battery_percentage }}"
      unique_id: "battery_soc"
      device:
        identifiers: ["greenhouse_solar"]
        name: "Greenhouse Solar"
        model: "RNG-CTRL-WND30"
        manufacturer: "Renogy"

    - name: "Battery Voltage"
      state_topic: "solar/state"
      device_class: "voltage"
      unit_of_measurement: "V"
      value_template: "{{ value_json.battery_voltage }}"
      unique_id: "battery_voltage"
      device:
        identifiers: ["greenhouse_solar"]
        name: "Greenhouse Solar"
        model: "RNG-CTRL-WND30"
        manufacturer: "Renogy"

    - name: "Daily Solar Generation"
      state_topic: "solar/state"
      device_class: "energy"
      unit_of_measurement: "Wh"
      value_template: "{{ value_json.power_generation_today }}"
      unique_id: "daily_generation"
      device:
        identifiers: ["greenhouse_solar"]
        name: "Greenhouse Solar"
        model: "RNG-CTRL-WND30"
        manufacturer: "Renogy"

    - name: "Controller Temperature"
      state_topic: "solar/state"
      device_class: "temperature"
      unit_of_measurement: "°F"
      value_template: "{{ value_json.controller_temperature }}"
      unique_id: "controller_temp"
      device:
        identifiers: ["greenhouse_solar"]
        name: "Greenhouse Solar"
        model: "RNG-CTRL-WND30"
        manufacturer: "Renogy"

    - name: "Battery Temperature"
      state_topic: "solar/state"
      device_class: "temperature"
      unit_of_measurement: "°F"
      value_template: "{{ value_json.battery_temperature }}"
      unique_id: "battery_temp"
      device:
        identifiers: ["greenhouse_solar"]
        name: "Greenhouse Solar"
        model: "RNG-CTRL-WND30"
        manufacturer: "Renogy"

    - name: "Charging Status"
      state_topic: "solar/state"
      value_template: "{{ value_json.charging_status }}"
      unique_id: "charging_status"
      device:
        identifiers: ["greenhouse_solar"]
        name: "Greenhouse Solar"
        model: "RNG-CTRL-WND30"
        manufacturer: "Renogy"

    - name: "Charging Amp Hours Today"
      state_topic: "solar/state"
      unit_of_measurement: "Ah"
      value_template: "{{ value_json.charging_amp_hours_today }}"
      unique_id: "charging_ah_today"
      device:
        identifiers: ["greenhouse_solar"]
        name: "Greenhouse Solar"
        model: "RNG-CTRL-WND30"
        manufacturer: "Renogy"

    - name: "Total Power Generation"
      state_topic: "solar/state"
      device_class: "energy"
      unit_of_measurement: "Wh"
      value_template: "{{ value_json.power_generation_total }}"
      unique_id: "total_generation"
      device:
        identifiers: ["greenhouse_solar"]
        name: "Greenhouse Solar"
        model: "RNG-CTRL-WND30"
manufacturer: "Renogy"3. Restart Home Assistant
4. Verify sensors
- Go to Settings → Devices & Services → Devices
- Look for “Greenhouse Solar” device with 10 entities
- All sensors should be enabled and showing data
Step 8: Final Verification
1. Test system reboot
sudo reboot2. After reboot, verify everything works
- Wait 10 minutes after reboot
- Check Home Assistant sensors are updating
- Verify MQTT data is flowing
Your Complete Greenhouse Solar Monitoring System
Your setup will now:
- ✅ Automatically connect to your Renogy BT-1 device every 5 minutes
- ✅ Read all solar system data (power, voltage, temperature, etc.)
- ✅ Send data to Home Assistant via MQTT
- ✅ Display 10+ organized sensors under “Greenhouse Solar” device
- ✅ Survive reboots and run continuously
- ✅ Monitor: Solar power/voltage, battery status, temperatures, daily/total generation
Useful Links:
GitHub Config Files – Sanitized configuration files from this tutorial
renogy-bt – Python library for Renogy BT devices
Hardware:
Raspberry Pi Zero 2 W: Seeed Studio
Renogy 100W Solar Kit: AliExpress, Amazon
Renogy BT-1 Bluetooth Module: AliExpress, Amazon
Home Assistant Green: ameriDroid, Seeed Studio
Related Posts:
Greenhouse Temperature Sensor – Monitor greenhouse conditions with ESPHome